The SATA, which stands for Serial ATA or the (Serial Advanced Technology Attachment or SATA) is a command and transport protocol, a standard technology tool found on most desktops and laptops. The SATA has been the default interface for most desktops and laptop hard drives since it was first introduced in early 2000, replacing the archaic PATA ribbon cables.
The SATA interprets how data is transferred between a computer’s motherboard and the connections and working mass storage devices such as hard disk drives and solid state drives on your PC. The SATA could develop a technical issue and fail to connect to your laptop’s BIOS if the data cable is faulty, damaged, and fall out of its connection route.
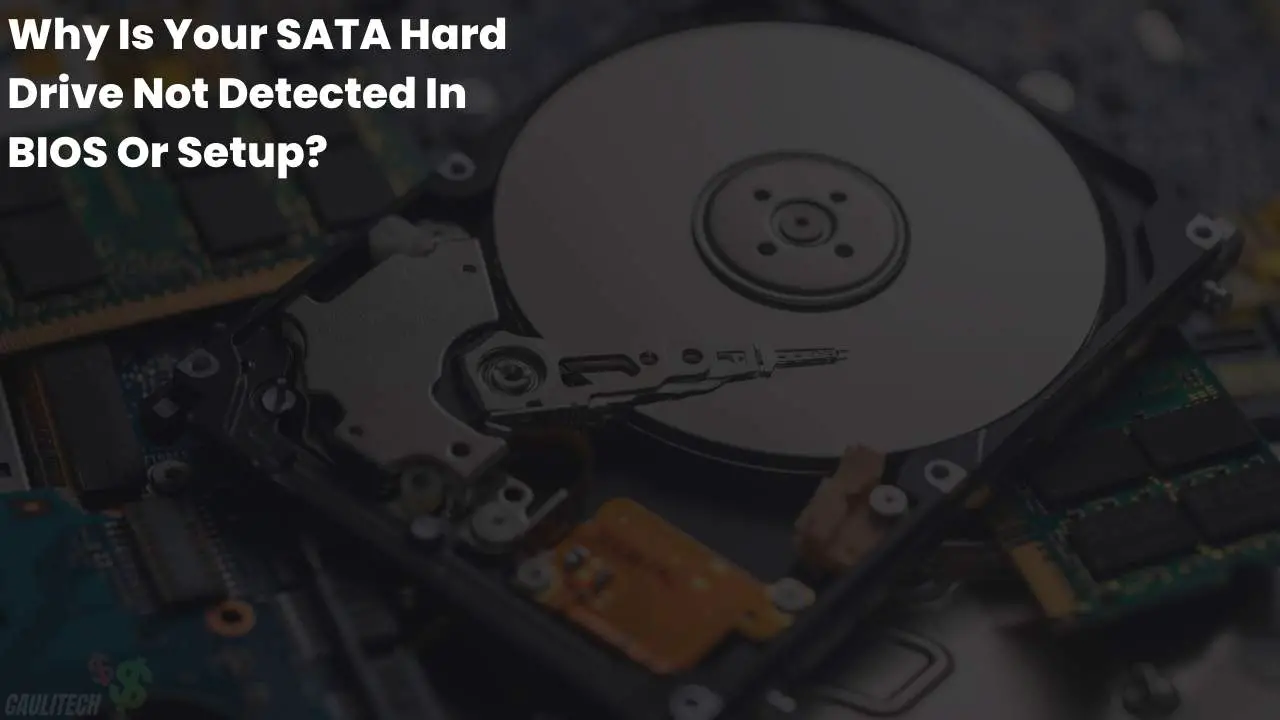
Why Is Your SATA Hard Drive Not Detected in BIOS Or Setup?
Your laptop’s BIOS or setup may fail to connect to or detect the SATA hard drive cable on your system, which can be devastating for every PC user at that point in time. Multiple causes may cause when the internal hard drive of your laptop is not enabled in your laptop’s BIOS. Most laptops’ motherboard does not set it at default which may require the users to allow it in the BIOS setting.
Another worrying factor for your BIOS to fail in detecting the SATA hard drive may result from incompatibility between the hard drive and the motherboard, a faulty or loose connection, and a missing or poorly installed serial ATA driver.
7 Reasons Why Your SATA Hard Drive Is Not Detected In BIOS Or Setup

1. Check For Faulty Or Unplugged SATA Cables
Your laptop’s BIOS will fail to connect or detect any hard drive connected to the laptop if the data cable is faulty. To prevent this, ensure the SATA cables are faultlessly connected and are in good condition.
Further checking the motherboard for possible bent over and misaligned pins. Another caution to note is the hard drive manufacturer’s documentation on cables and ensure it matches your system recommendation.
2. Update The BIOS To The Latest Version
The BIOS may also fail to detect any connected hard drive if the BIOS is outdated and does not match the current version of the BIOS. Updating the BIOS (Basic Input/Output System) to the latest available version of the running BIOS on your laptop could go a long way in fixing the BIOS’s compatibility issues and improving your laptop’s performance, and enhancing good connectivity.
Updating your BIOS depends on whether you’re using the legacy BIOS or the UEFI; in the advent of either of the two, there are multiple ways to update your BIOS/UEFI.
3. Check If The Hard Drive Is Disabled In BIOS
Checking whether your hard drive Is disabled in the BIOS could also be a good idea to solve the problem of your BIOS not detecting the hard drive in your BIOS; if the system BIOS does not detect the hard drive, there is every possibility that the hard drive option is turned off in the BIOS.
Most times, this option is always set at default, and it has to be toggled on by the user to be able to connect your hard drive to the BIOS successfully.
To ascertain the current setup of your hard drive in the BIOS option, press the designated BIOS button that corresponds to your laptop while booting to enter the BIOS mode to verify your hard drive status.
4. Remove And Reconnect The Hard Drive
The inability of the BIOS to detect the presence of the hard drive could be due to the failure of the hard disk drive being corrupted, and there being a loose end in the connection. To assess the status of your disk, carefully remove the hard disk by disconnecting the cables and checking for any physical defect to the cables.
Also, try to clean out the dust before connecting back to the PC. Attempting to connect to another PC if the problem prevails will help you determine whether the issue lies with the hard drive or the motherboard.
5. Use A Bootable Diagnostic Tool To Check The Disk Health
Carrying out a diagnostic test on your hard drive using the recommended proprietary hard drive diagnostic tools offered by the hard disk manufacturer for a healthy scan. You can refer here to drive diagnostic tools hard for a recommended diagnostic tool to use. Download the approved tools and create a bootable drive.
Then boot from the drive and check if any error is detected. If the tool doesn’t detect anything, there is every possibility that your laptop’s HDD is faulty and may need to be replaced.
6. Load The BIOS Default Settings
If there have been any changes lately on your BIOS option, your system will fail to detect your hard drive due to instability. Still, this setting can be reverted to its default configuration setting to undo any changes you have made lately on your BIOS. To load the default BIOS setting on your PC, shut it down and wait till it power off completely, then press the Power button and hit the F2/F8/Del key to enter the BIOS setting.
Open the exit tab once in the BIOS, use the down arrow keys to highlight Load Default Settings, click the enter button, select Yes to load BIOS default Settings, then press F10, and exit to save the change. The default setting will reset all the changes you have made on the BIOS.
7. Check If The Drive Spins Up
You should also check if you are getting sufficient power; if the power is insufficient to allow your hard disk to spin, your laptop BIOS will not detect the drive.
To validate whether power issues are preventing your BIOS from detecting the drive, follow this troubleshooting procedure; Shut down your PC and ensure it has shut down completely, then open your PC casing and disconnect the data cable from the hard drive, then power on your PC and check whether the drive spins.
The slight vibration you feel is evidence that the drive is spinning. This method may not work with solid-state drives because they need a platter that spins around.
4 Methods To Fix Sata Hard Drive Not Detected In BIOS Or Setup

1. Connect SATA Hard Drive With Another Cable Port
Occasionally, your laptop setup or the BIOS may fail to recognize if there is a hard drive on your system when the hard drive data cable is loosed or the USB port is defunct. To try and fix this issue, change the hard drive data cable or replace the USB port to see whether it will detect the hard drive.
2. Turn On And Enable Sata Hard Drive In BIOS
Another fix method to engage when your BIOS fails to detect the hard drive data cable is to try and check if it is turned off in the BIOS settings because there are chances it is not turned on as most laptop motherboard manufacturers disable unused USB ports in the BIOS by default.
To check this out, enter the BIOS setup to verify the current state of the USB port. To enter your PC BIOS setup, press the dedicated key while booting the computer to enter the BIOS mode to check whether the USB ports are enabled.
3. Update Hard Drive Drivers
If the above fix method fails, try to update the hard drive on your PC because damaged or outdated drivers may be why the BIOS detects the SATA. So, updating the hard drive may solve the problem. To update your hard drive, click on the start button and type ‘device manager into the search box, then select the Device Manager, right-click on your hard drive name and select update software, then select ‘search automatically for updated driver software.
If there is a yellow exclamation point, something is wrong with the drive—Right-click on the drive with a yellow exclamation point for details and troubleshooting to solve it.
4. Initialize Hard Drive And Format It
At times, if a hard drive is not initialized, your PC BIOS cannot recognize it, and neither can you save data on it, and it is predominantly on new hard drives. You can use a third-party free partition manager to initialize the hard drive.
Why Is My SATA Drive Not Detected?
If your PC BIOS does not detect your SATA drive, several reasons could be accountable for that mishap; when you install an old version of Windows on a drive where the boot drive is, the drive will not be detected when you want to install the windows.
Another thing to note is that your SATA Drive will not be detected if it is turned off in the system BIOS settings. A damaged cable, defunct USB ports, and sometimes if the connection between the motherboard and the hard drive is poor and inappropriate due to misalignment and bent pins.
How Do I Enable SATA In BIOS?
The process of enabling the SATA hard drive on your PC differs from one computer to the other, but interestingly, following this common method will help; restart your PC and press the F2 key or dedicated BIOS key according to your PC setup to enter into the BIOS mode, enter setup and check system documentation to see whether the hard drive is turned off in the system setup, turn it on if it is off and reboot your PC.
The hard drive should be turned on after the rebooting.
How Do I Enable HDD In BIOS?
The HDD (Hard Disk Drive) is a SATA-enabled hard drive that is used drastically to store and transfer data. The HDD can be enabled in the BIOS by restarting your PC and pressing the F2 key or dedicated BIOS key conditioned to your PC to enter the BIOS setting.
Enter the setup and check the system documentation to ascertain whether the Hard Disk Drive is off, then turn it on in the system setup. Reboot your PC to establish whether the Hard Disk Drive is enabled.
Should SATA Mode Be AHCI Or IDE?
Generally, the AHCI SATA mode is a newer and more advanced storage feature than the IDE (Integrated Development Environment), even though the two are older technologies that are mostly not common among PC users. The IDE provides more compatibility for older hardware but may perform below par if used with a hard drive in IDE mode.
While both are older technologies, the AHCI (Advanced Host Control Interface) SATA mode is a better choice for data transfer between the system memory and SATA storage.
FAQ
Where Is SATA Mode In BIOS?
The SATA mode is found or located in your laptop’s BIOS menu, and the procedure to locate it differs from computer to computer. Still, this common method will enable you to locate the SATA in the BIOS option. Restart your PC, then press the right BIOS launch key when prompted during the startup; it is interesting to note that the BIOS key is usually F1, F2, Del, ESC, or F10, depending on your laptop configuration.
Then locate the SATA settings option in the BIOS menu, usually under the configuration tab and mostly depending on the computer manufacturer. Select the SATA setting, change the settings to your desired choice, and press F10 to save and restart your PC.
What Is SATA AHCI Mode BIOS Setting?
The SATA AHCI mode in the BIOS setting is a new mode for memory devices, the AHCI stands for Advanced Host Control Interface mode, and it enables the use of advanced features available on the SATA drives (Serial Advanced Technology Attachment) function, such as hot swapping and Native Command Queuing (NCQ) while at the same time allows a hard drive to operate at higher speeds than in the Integrated Development Environment (IDE) mode.
Conclusion
The SATA Drive not detected by your laptop’s BIOS logically breaks down to either the SATA cable is faulty or the BIOS being outdated, among many other factors responsible for the failure. While these problems persist, carefully analyzed methods to fix the hard drive failure to be detected by the BIOS have been properly documented.
A user with this hard drive failure can try the methods one after the other until they find the right one that works for the situation to save the day.
You would also like these (Give it a read):
