You have probably been struggling with how to get your raspberry pi to work with your laptop as your HD display monitor. Many people are just as exasperated as you when successfully connecting their Raspberry Pi to their laptops to view their stored files.
Well, I have come up with the answer on how to connect Raspberry Pi to Laptop using HDMI.
How to Connect Raspberry Pi to Laptop Using HDMI?
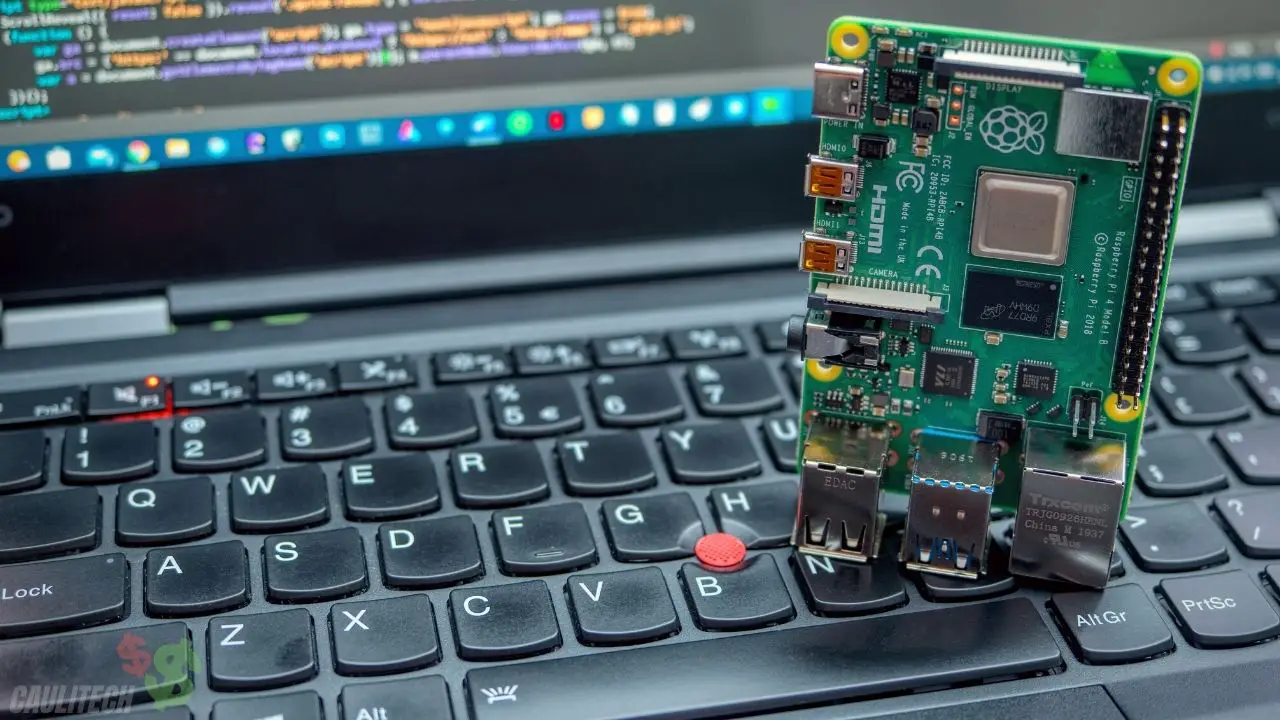
First off, what is a Raspberry Pi? Often referred to as a “portable PC,” it is a device that stores files on the go. The issue with raspberry pi is that it can be pretty uncomfortable to carry around every time.
Also, an HD display monitor might not always be there when needed. So, what do you do when only a laptop is the available display unit?
To start the process for the first time, you must get some items, your raspberry pi device and the laptop. These items are:
- Keyboard
- Mouse
- Micro USB cable
- Ethernet Cable, and
- An SD card with the Raspbian OS setup file
Now that you know what you need to begin, I will take you through the steps to connect raspberry pi to a laptop using HDMI.
Step 1 – Install The Raspberry OS From Your SD Card
The first thing to do is install the Raspbian OS on an SD card, which you can download from the Raspbian Pi Foundation website. Write the OS file onto your SD card, then insert it into your raspberry pi.
Next, connect the raspberry pi to the micro USB cable. Use the Ethernet cable to connect the raspberry pi to the laptop, then connect your mouse and keyboard to your laptop. Connect your HDMI display monitor to the laptop and power up your raspberry pi. Now, you are all set up for the next step.
Step 2 – Connect Your Raspberry Pi To The Internet
If you have a laptop with Windows OS, you can get your Raspberry Pi device connected to the internet with an ethernet cable. You do this by going to the Network and Sharing, picking an available Wifi network, and clicking the Connect tab.
When you click it, you will get a unique IP address that enables your laptop to be connected to the internet. You can easily find your raspberry pi’s IP address by using an advanced IP scanner, which you can download from a reliable website.
Step 3 – Connect Your Raspberry Pi To HDMI Display Using The VNC Server
This step requires installing the Virtual Network Computing (VNC) Server file on your raspberry pi. You can do this by installing the Putty software on your laptop and using SSH to run it. To create an SSH folder, create a file with the name ssh on the SD card. The ssh file is needed for easy connection from the device to the laptop.
Now, access the Internet to install the VNC Server file and run it on your raspberry pi. Select a resolution and reboot the device.
Step 4 – Install VNC Viewer On The Laptop
The final step is to install a standard VNC viewer on your laptop. This allows you to navigate your raspberry pi files with ease. You can do this through the well-designed and user-friendly interface VNC platform using your keyboard and mouse.
The VNC viewer comes in the form of a prompt window that enables inputting the unique IP address, username, and password for your raspberry pi. Click “ok” and the VNC window to access your raspberry pi’s Graphical User Interface (GUI).
That’s just about it! Your raspberry pi has been successfully connected to your laptop via HDMI. You can now use a laptop to view the files on your raspberry pi successfully.
You can even watch this video on how to connect Raspberry Pi to Laptop display:
The Benefit Of Using SSH To Run The VNC Server
As stated earlier, the SSH file allows for the laptop’s smooth operation of the raspberry pi device. But the advantage does not stop there.
The great thing about running the VNC Server through SSH is that you can access your stored files on your raspberry pi device from any location once you are connected to the internet. All you need at this point is your ethernet cable and the IP address for your raspberry pi.
How To Connect Raspberry Pi To Laptop Using USB?
You can connect a raspberry pi to a laptop through the USB port by using a USB cable. You now get your raspberry pi connected to the internet with an ethernet cable.
Connect one end of the ethernet cable to the device and the other to your internet router. Power up the raspberry pi by plugging it into a power outlet, and you are done.
How To Connect Raspberry Pi To Laptop Windows 10?
Start by installing the Raspbian OS file on your SD card. Insert the SD card into your raspberry pi, then connect it to your Windows 10 laptop using an ethernet cable. When the device boots up, you can now power up the device via your laptop’s USB port and access the files on the device.
How To Connect Raspberry Pi To Laptop Using Wifi?
You can connect your raspberry pi device to your laptop via Wifi by plugging it into an Internet router with an ethernet cable. Then you scroll through the available IP addresses on the screen and pick that belonging to the raspberry pi device.
Then turn on the SSH enabling option from the raspberry pi menu to finish the Wifi connection process.
How To Connect Raspberry Pi To Laptop Using Ethernet Cable?
You can connect a raspberry pi to a laptop using an ethernet cable by plugging one end of the cable into the device and the other into the laptop’s ethernet port.
Boot up the device by plugging it into a power socket. Click on the Network and Sharing Center, then click the sharing button to connect your device to the internet successfully.
FAQs
How To Connect Raspberry Pi 4 To Laptop Using USB?
You can do this by plugging in a Wifi dongle to the USB port of your raspberry pi. Then use an ethernet cable to connect your device and laptop to the Web. Power up your Raspberry Pi by plugging it into a power outlet.
How To Connect Raspberry Pi To Monitor Using HDMI?
You can connect your Raspberry Pi to a monitor with the use of an HDMI by making use of a DVI display unit. Connect the Raspberry Pi to the monitor using an HDMI cable and adapter. Power up the raspberry pi by plugging it into a power source.
Connect your device to the internet with an ethernet cable, then install the Raspbian OS and the VNC Server to successfully navigate the files on your raspberry pi.
How Do I Setup My raspberry pi device?
Get a formatted SD card and download the Raspbian OS setup file from the website. Insert the SD card into the device, then power it up. Click on install when the window prompt pops up, and it is ready.
Can A Laptop Be Used as A Display Unit For Your Raspberry Pi?
Yes, it can. All you need is a Visual Display Unit (VDU) cable.
Can A Raspberry Pi Connect To Wifi?
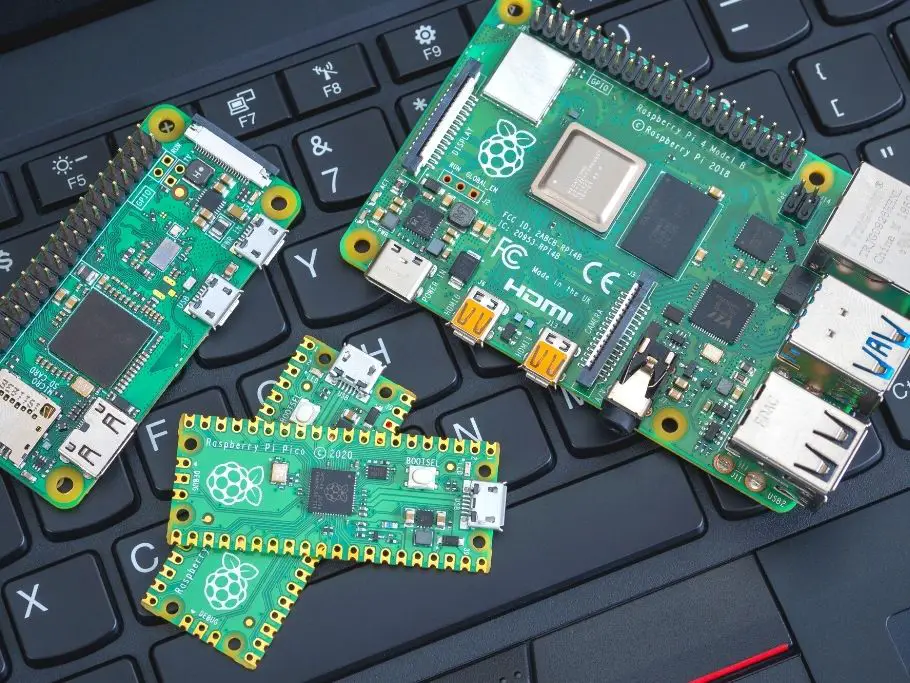
The recent models of the raspberry pi from 2016 upwards are equipped with inbuilt Wifi connectivity. Lesser models have to make use of a USB cable to connect.
Conclusion
Using Raspberry Pi with a laptop using HDMI is a cause of frustration for many people. Most people did not know how to go about the process in the first place. The ease of use makes the process a must-know for people using raspberry pi devices.
Well, now you know how to connect Raspberry Pi to the laptop using HDMI, so you can start enjoying the many benefits of the process.
You would also like these (Give it a read):